Remember two years ago when we spent nearly every day for a month buffing, polishing, and re-polishing the aluminum tube that we call home?
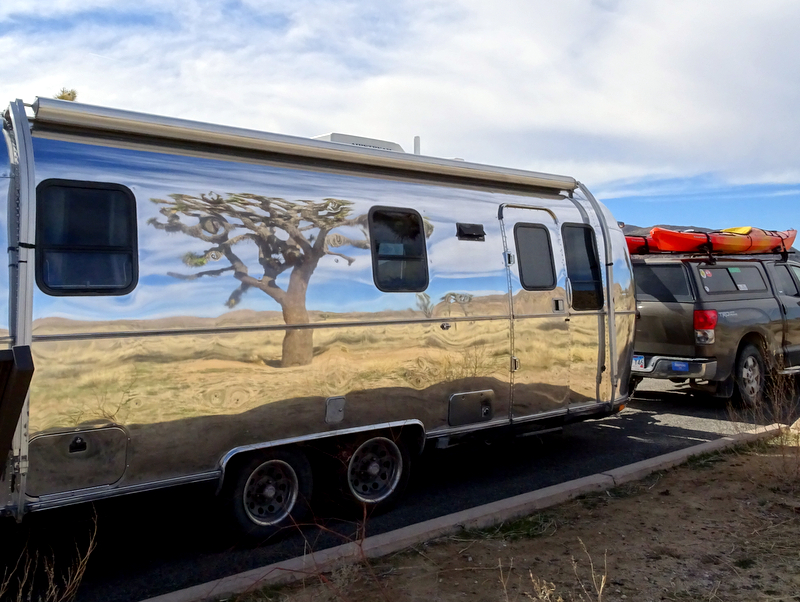
A visit to Joshua Tree NP after the great polishing adventure of 2016
Well, since then we’ve done our best to nullify all that hard work. Dusty dirt roads, muddy campsites, narrow tree-lined roads that we had no business driving down, three months parked next to the ocean, and a whole host of similar sins against aluminum contributed to sad state we found ourselves in this winter.
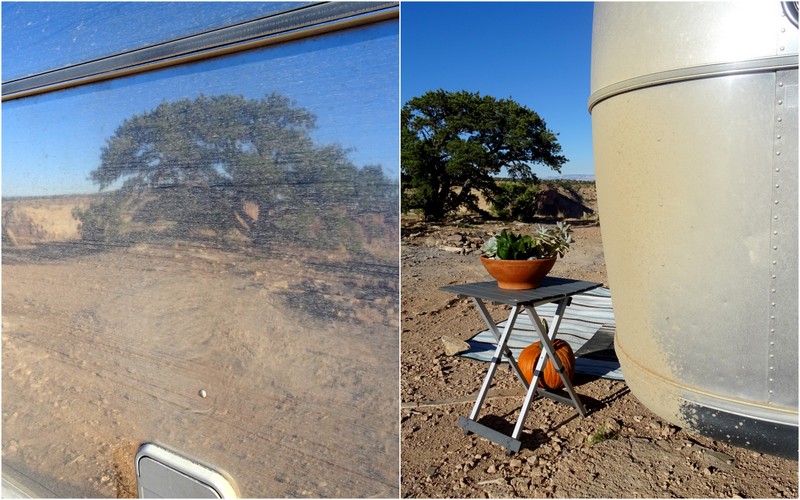
Airstream abuse alert!
To be honest, even without our mistreatment, even if we had parked under cover, never drove in the rain, always wiped off the squashed bugs, and avoided all those tight spaces and dirty areas (aka the BEST boondocking spots), things would still be looking a little rough. The fact is that all polished Airstreams eventually need repolishing.
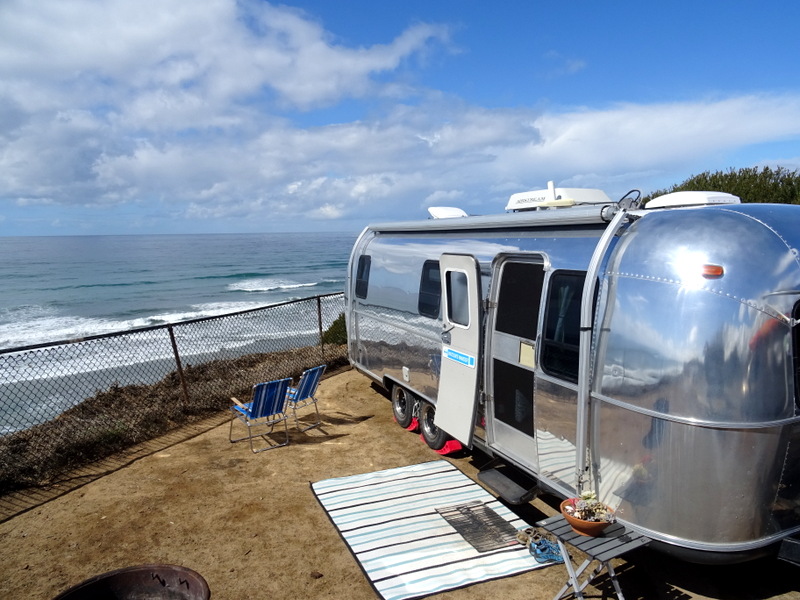
February 2018 – From a distance, we still looked pretty good
So we did what any sane person who spent a good part of one winter polishing an Airstream would do…we paid someone else to re-polish it. This is a big step for us. We fall firmly into the category of enthusiast DIYers. If something breaks we fix it (eventually) and if something needs updating or renovating, we tackle it head-on. But even we can admit when enough is enough. Polishing an Airstream is not fun. It’s dirty, fussy, and frustrating. It’s also really time-consuming and after last winter’s long and drawn out interior renovation we simply were not up for another big project.
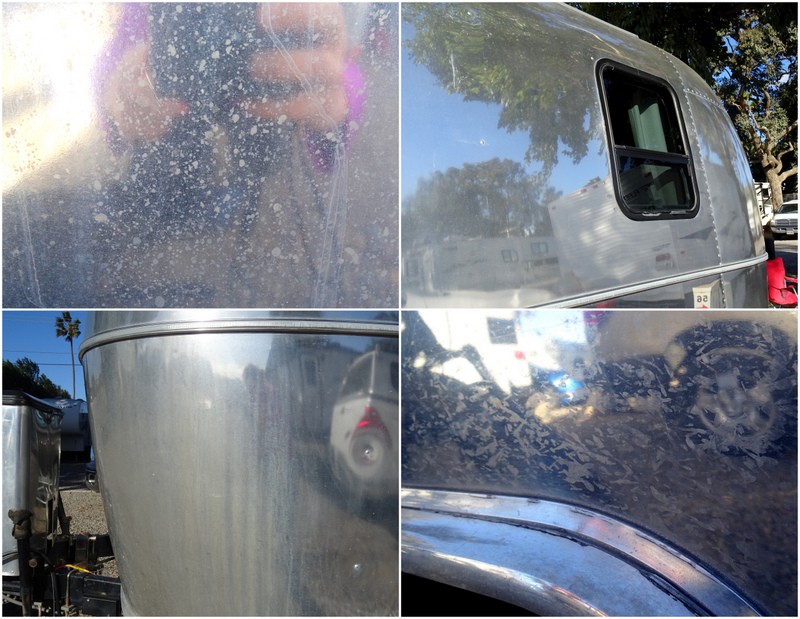
Also February 2018 – But up close we had a dirty little secret
Which is why when we found ourselves on the California coast not far from a professional Airstream polishing business it only made sense to reach out for a quote. And when the quote came back at a reasonable rate we took the plunge and made arrangements to have the work done. For the first time ever we were going to have someone else work on the Airstream. Does this mean that we’re getting lazier or smarter?
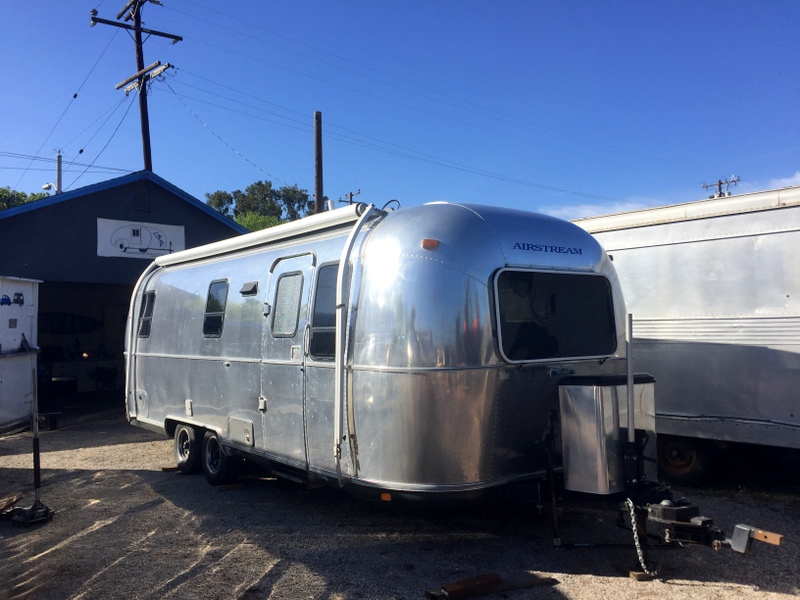
Drop off at the Airstream “spa”
I’m putting my money on smarter. Dropping it off all dull and scratched up and then picking it up two weeks later all shiny and beautiful was pretty awesome. Here are a few photos sent to us during the polishing process.
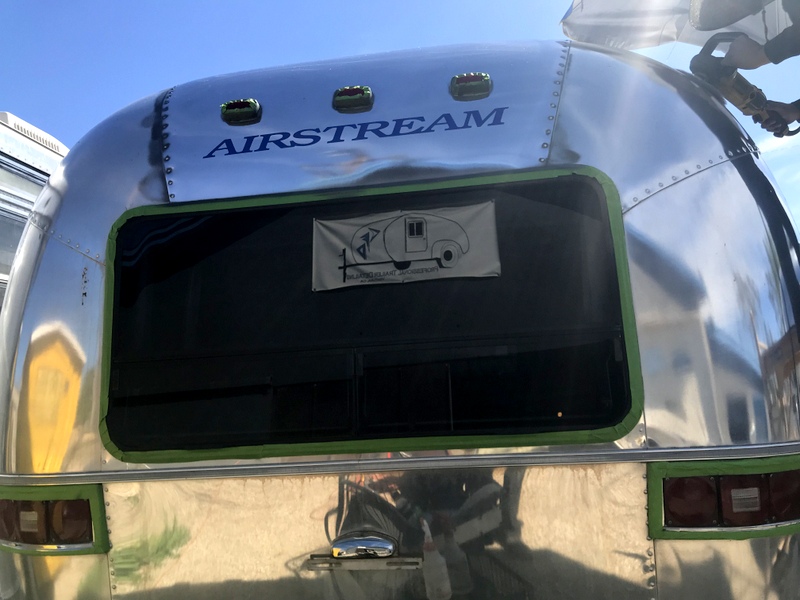
Polishing is happening!
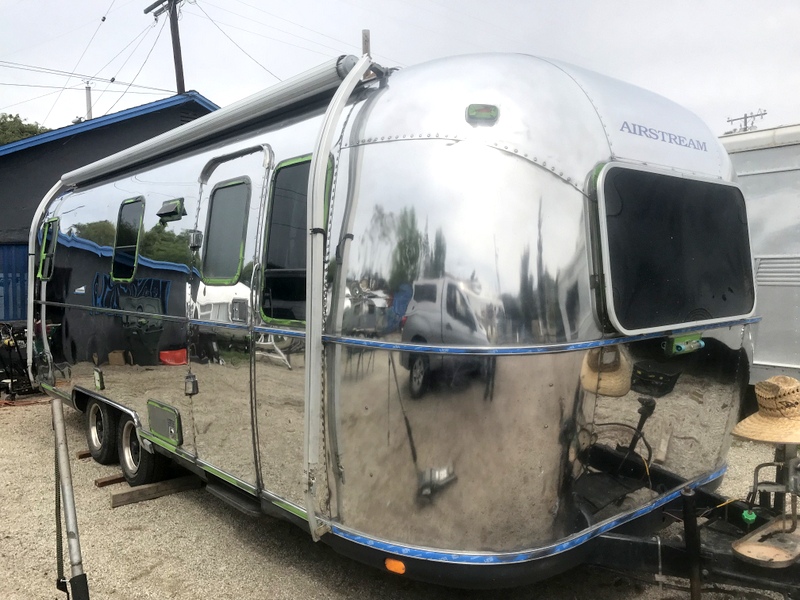
Looking good!
We choose C.F. Detailing in Ventura for several reasons. First, we had seen their work on both Instagram and in person on a friends ’70s Airstream that was polished there. It was also convenient to our location, the cost estimate was extremely reasonable, and they were able to get us in during the dates that worked for us. Overall, we are very happy with the results. The scratches and oxidation are gone, the watermarks a thing of the past, and just look at that shine!
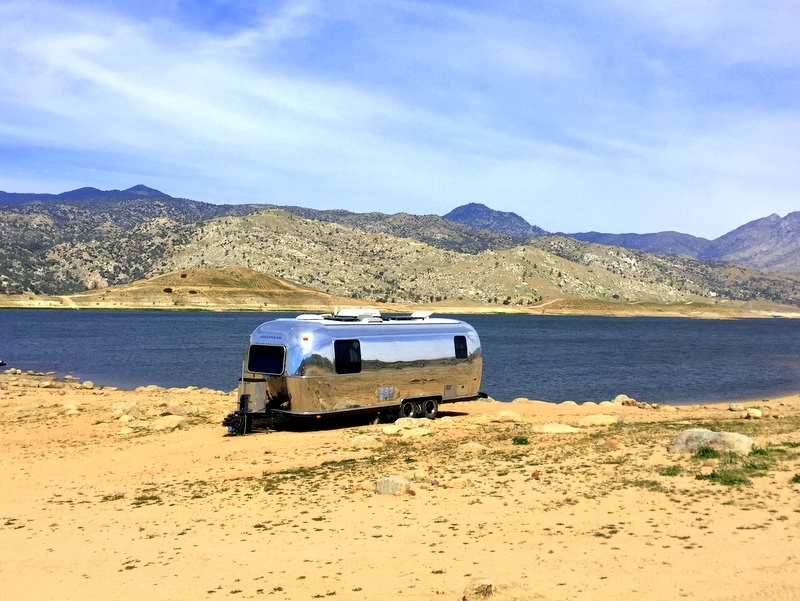
So shiny!
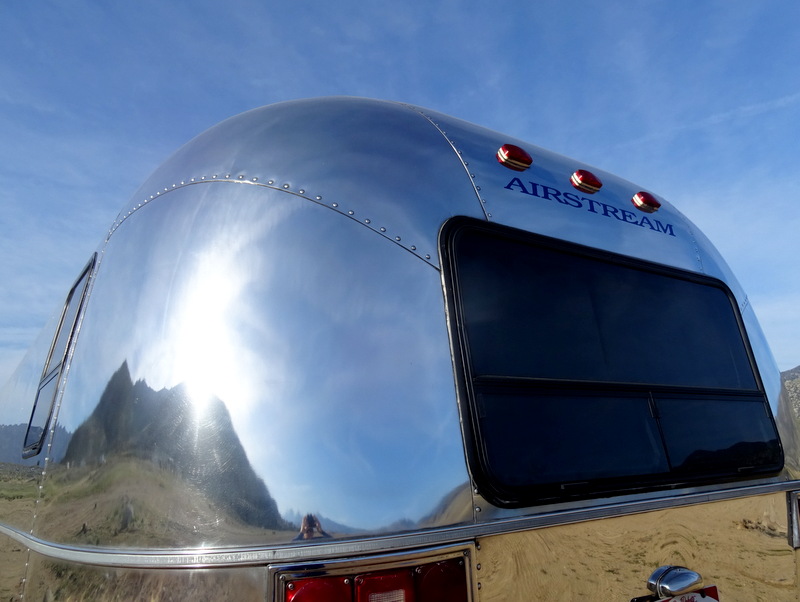
Shine on
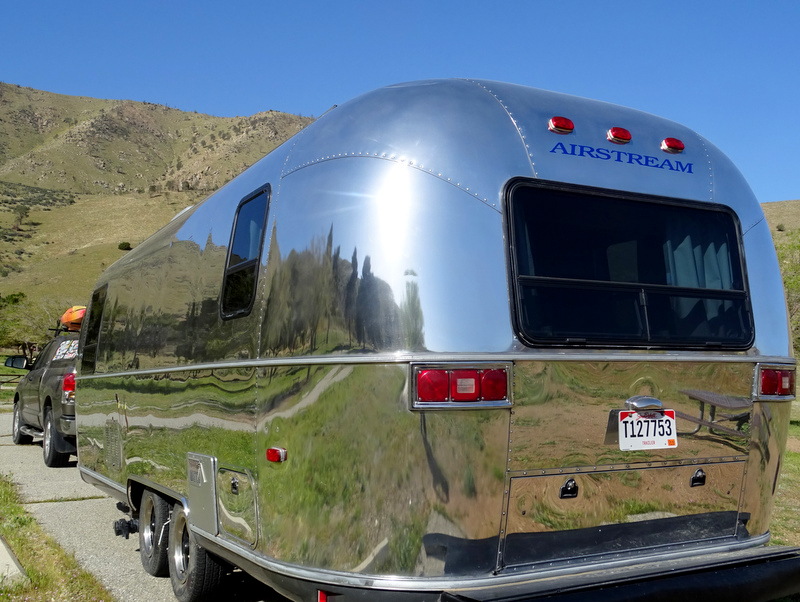
From the back…
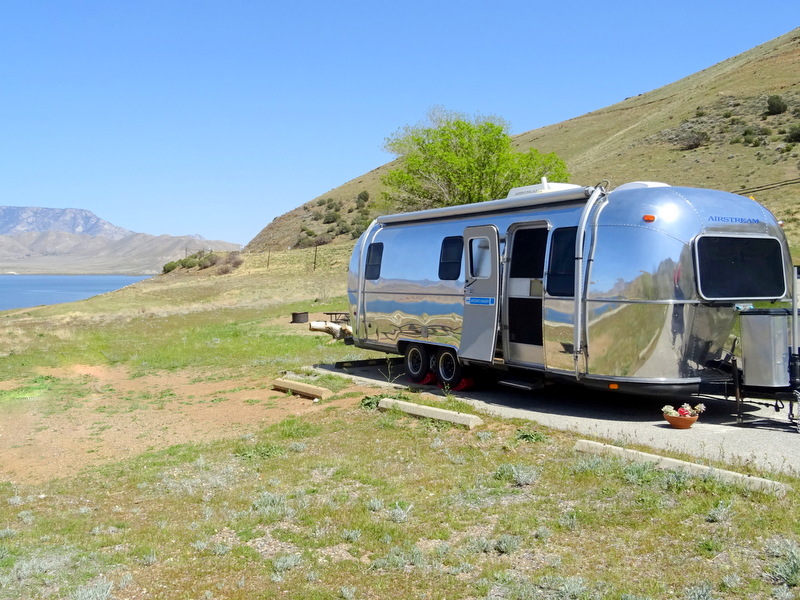
From the front
Now that we’re looking spiffy on the outside, let’s talk about an indoor project. I’ve always wanted to paint the wood cabinets and wall panels in the Airstream. The faux oak look is just too dark for such a small space. Last winter I took the first steps during our renovation extravaganza and painted the upper cabinets in the bedroom a crisp white color. The results were pretty dramatic.
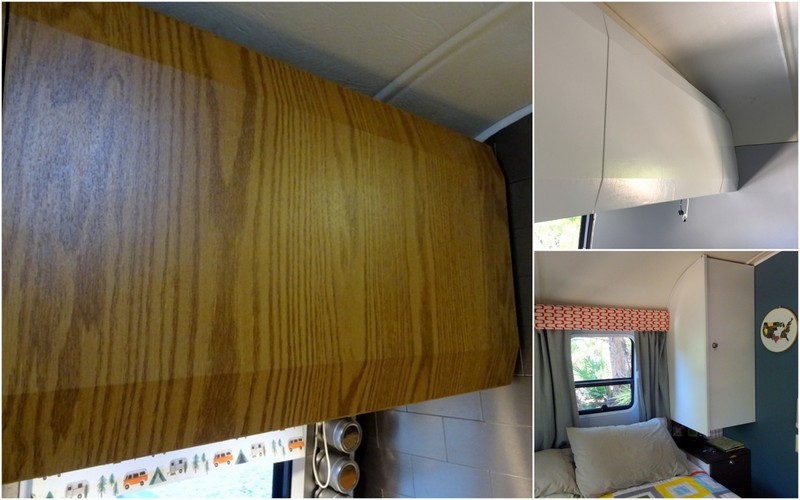
Bedroom cabinet transformation
After a year-long break from home improvements, I was ready to tackle more painting and decided it was time to brighten up the hallway. My intention was only to paint the bathroom door and two walls on either side. But as tends to happen, the project blew up until it consumed nearly one whole side of the Airstream. In the end, it took two full days of taping, painting, and living in close quarters with wet paint to complete the project.
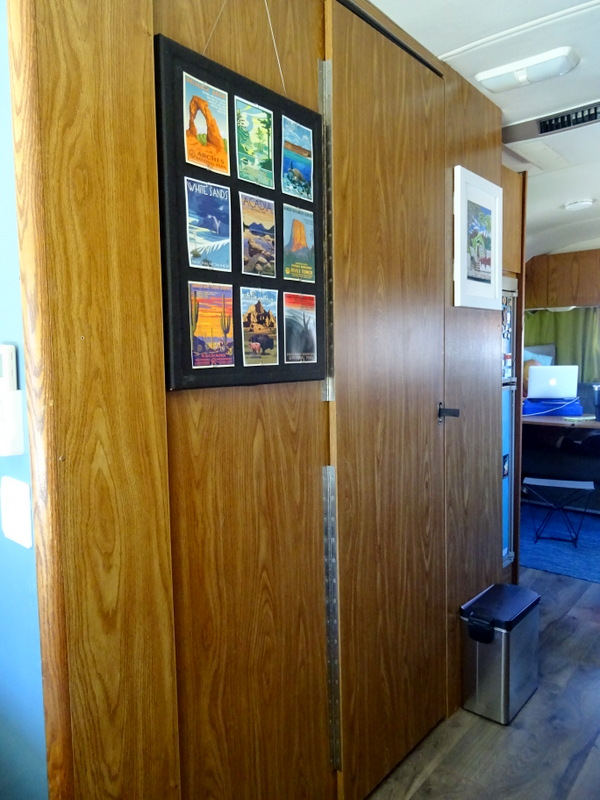
Say goodbye to the brown!
It can be kind of a pain to do indoor painting projects while living in an RV. The limited space means you have to be extra organized and always watch where you walk/lean/ careful. I spent a lot more time than normal covering things with plastic and taping off the floor and ceiling to keep it neat and reduce clean up at the end. I also simplified things by using an all in one paint + primer.
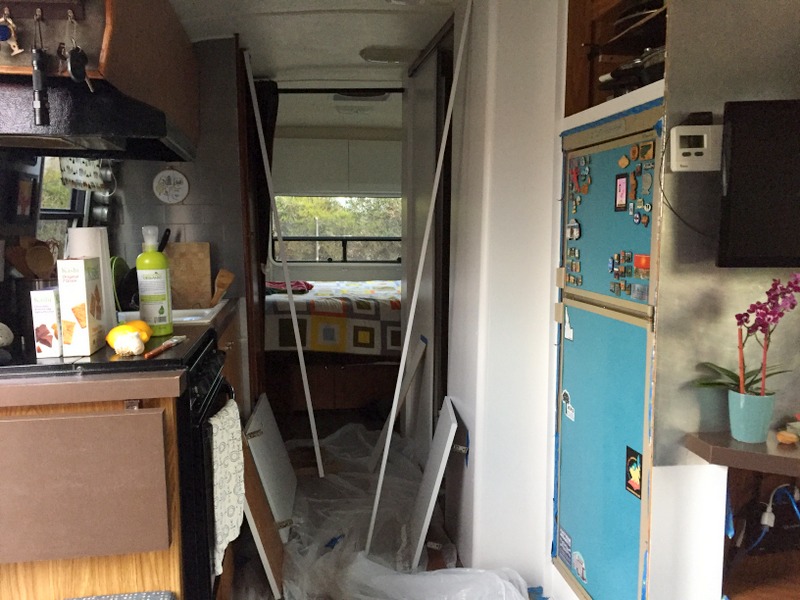
In progress – messy but livable
The first time around I got all fancy and used an oil based primer followed by multiple coats of latex paint. My theory (backed up by some things I learned on the Googles) was that the laminate wood finish on the cabinets would not take well to a simple coat of latex paint. The role of the oil-based primer was to act as a bond of sorts between the shiny laminate surface and the top coat of latex. The problem is that oil based paint it a huge PITA! It’s messy, smelly, takes forever to dry, and requires a lot more than water to clean up.
With no desire to deal with the oil primer, and no place to paint outside where the fumes would be vented (this project happened at a beachside state park with too much blowing sand for outside painting) I decided to try a different, simpler approach with the latex paint + primer. I think the results speak for themselves.
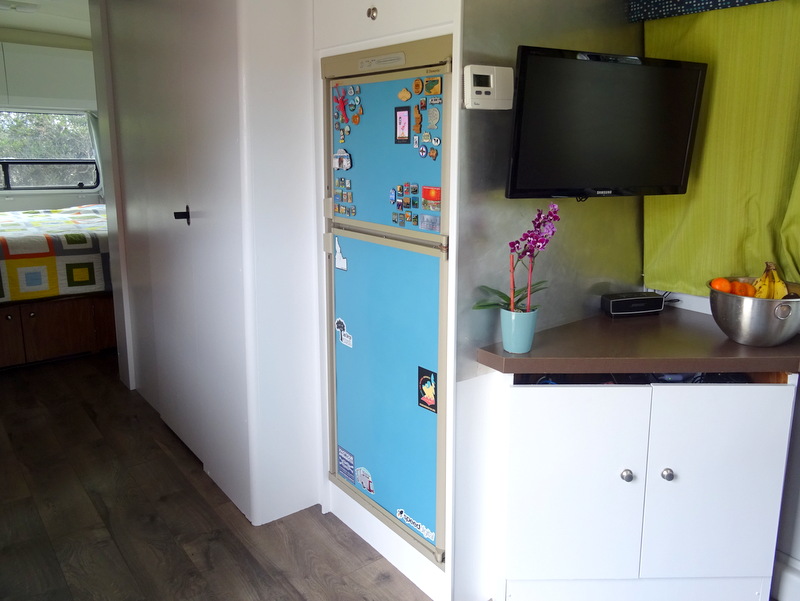
Hello bright white!
A good scrub down of the surface followed by three coats of Lilac Muse (AKA “white”) in a semi-gloss finish was all it took to make the transformation. I will admit that the change took a few days of adjustment. In the store, the grey-white that we picked out wasn’t even close to a pure, bright white but at home on the walls, it was really, really white!
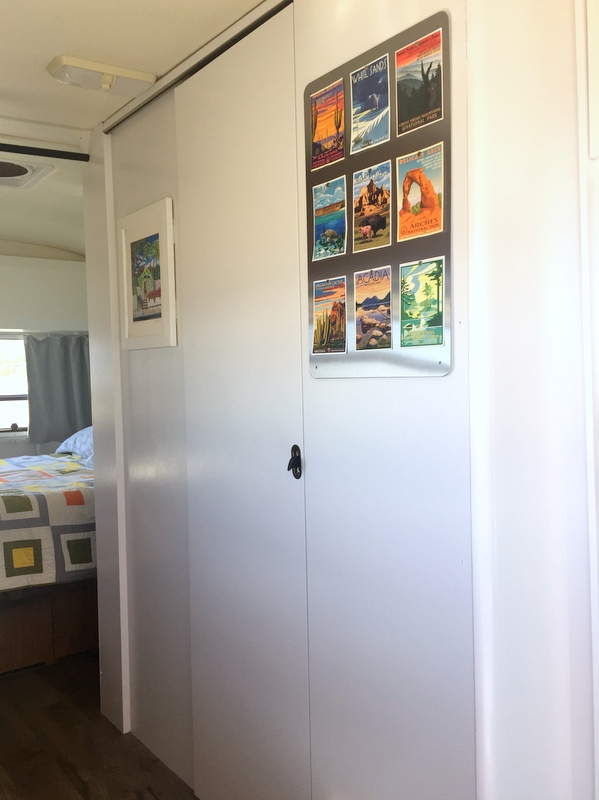
To complete the new look we upgraded our national park postcard bulletin board to a shiny magnetic board from the Container Store
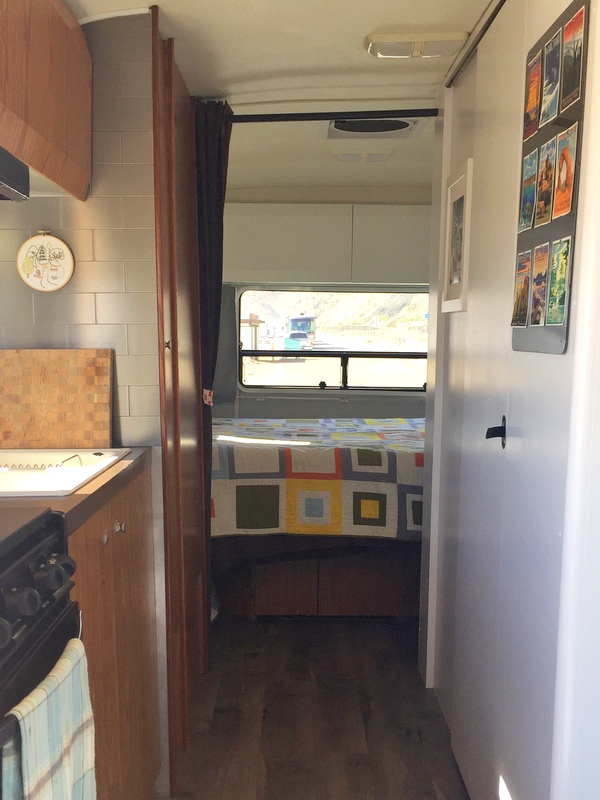
Still need to paint the other side of the hallway, the kitchen cabinets, and the cabinet under the bed (+ the bathroom cabinet & the upper cabinet in the living room)
One month later and I am pleased to say that we are loving the new look. The degree by which it has brightened up in here is amazing. So far the paint is holding up well and is proving to be easy to wipe down and keep clean. In fact, this painting project came out so well that I’m about to tackle another section along with a much-needed change in the bathroom. Stay tuned for another edition of Airstream Updates…

27 comments
Wow! Love the modern interior transformation and the beautiful shine outside. Winning combination! We’re doing the same work in our house – might as well as it’s freezing and snowing again tomorrow in Vermont. It was great meeting you at Organ Pipe.
Thanks! Both projects have made a big difference. We heard that Vermont is having a pretty crappy spring. Hope things turn around soon. Maybe we’ll run into you again next winter!
We’re do-it-your-selfers, too, but some things just aren’t worth doing (at least more than once). I’d say polishing an Airstream definitely falls in that category. It looks great! So does your interior paint job. After some really awful painting experiences (sanding and oil primers) I discovered a latex primer called Kilz that works great. I don’t know exactly how it works, but you can paint it over anything and it adheres (and it says it’s non toxic). I’ve used it in our house and also on furniture and it’s bullet proof.
Yup, Airstream polishing no longer a DIY project for us. Sometimes it just makes more sense to let someone else to the hard work. I’ll have to look into Kilz. Sounds like a good product.
Just love your story We just had our airstream professionally strip down and polished and it really looks great too Was wanting some advice what did you use for your kitchen walls some kind of tile? Thank you Elaine
The kitchen wall tiles are a stick-on product coated with a thin layer of metal. Here is the blog post I wrote about the install. We’ve had them for about 4 years and none have fallen off yet! http://www.watsonswander.com/2015/airstream-update-kitchen-backsplash/
Posted one of your Airstream pictures as our computer wallpaper. We had one of ours refinished years ago. We now regret ever selling it!
I love that you have a picture of our AS on your computer :) The older Airstreams are in high demand right now. I sometimes think if we hold on to this one long enough we’ll be able to sell it for 10x what we bought it for!
Your Airstream looks beautiful inside and outside.
Thank you!
I love that picture of the airstream with the Joshua tree? reflecting on it.
The Airstream looks very nice all shiny and new.
I love that photo too!
Our 36′ fifth wheel seems to grow every time we do our monthly clean. We get the bugs and road grime off (most of the time), but never can get that shine that your silver bullet has. Love the Joshua tree photo too. That should be on a magazine cover!
We’ve been making an effort to wipe off the bugs after we drive and the water spots after it rains. So far so good, but I can imagine having another 11 feet of RV would make it a much bigger job!
I so love a shiny AS, but ours is not (although not too bad) and I’m ok with it, for now! However, in an effort to keep our interior “original”, we’ve lived with the darkness and your redo gives me motivation to maybe change that – I just love it! Thanks for the details – you’re always so helpful.
I hear you on the shiny part. We never wanted a polished AS (too much upkeep) but the badly peeling clear coat made that decision for us years ago. As for the inside, we also tried to keep it original for a time, but have since given up on that idea in favor of making it our own.
Looks great, inside and out!
Thanks!
Hi Amanda and Time..we are have our AS 28′ stripped and polished in August by Tim McNutt in Georgia. So looking forward to a shiny home and love your AS.
We are in Cape Blanco headed to Netarts Bay for the month of May.
Hope to see you down the road. Kat and Jackson
Yes! You’re going to love the results of your new shiny, polished Airstream! Enjoy Oregon. We’ll be up that way at some point this summer but we’re taking the slow route so it will be awhile :)
We have the exact same year, model and length of airstream as you! We are debating painting inside. Did you paint inside the cabinets or just on the outer trim and fronts?
I only painted the outside and visible trim of the cabinets. Doing any more seemed like a huge pain while it’s our only house. Opening them up and seeing the brown doesn’t bother me as much as I thought it would :)
We only painted the outside and visible trim. It seemed like too much of a pain to do the inside while living in it. So far opening up the cabinets and seeing the brown doesn’t bother me as much as I thought it would :)
How much did it cost to have your Airstream polished? I’m debating whether to polish my Airstream myself, or bite the bullet and have someone else do it.
We paid around $1,800 for the polish. Keep in mind that it had already been stripped of the clear coat and polished a few years prior which made the price lower than if it was a first-time polish.
The white looks amazing about to embark on this project myself wondering if 5 years the paint is holding up
Cheers
The paint has held up really well. I frequently wipe down the high traffic areas (bathroom door, upper cabinets, etc.) and have touched up some of the pain in the kitchen, but for the most part it still looks really good!