Here we go again…another home improvement project. Even with less then 200 sq. ft. to work with I’m always finding something I want to change. This time around it’s the bathroom.
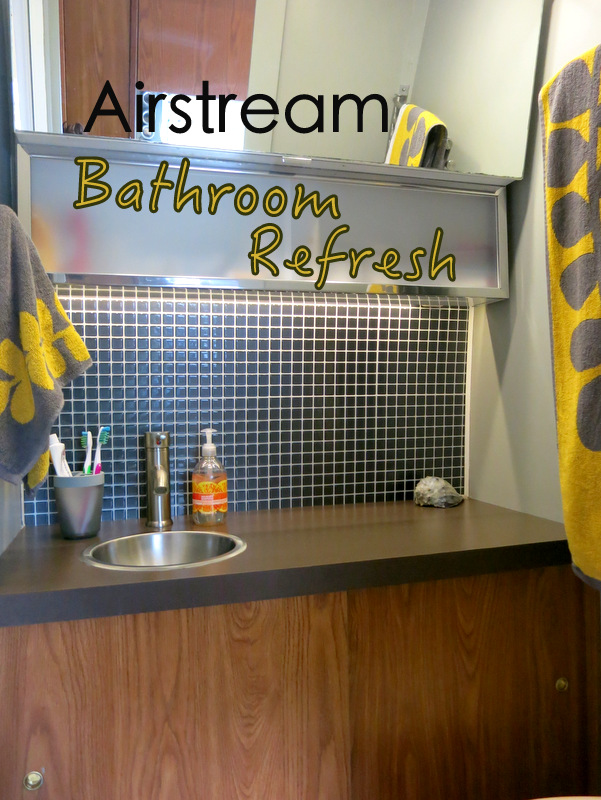
Just a little bathroom refresh project!
For those of you who don’t know, we have a 1999 Airstream Safari. These days Airstreams have a reputation for their modern interior outfitted with pleasing fabrics and finishes. Unfortunately, they went through a phase in the 90s where this was NOT the case. The original interior of our ’99 was nothing short of hideous. If you want proof, check out this post with all the before and after photos.
Before we moved in we did a pretty big cosmetic renovation of the interior. One of the areas that got a fairly significant overhaul was the bathroom. We replaced the sink, the faucet, the floor, the backsplash, the counter top and the toilet. We also painted over the ugly gold leaf patterned wallpaper and installed some towel hooks.
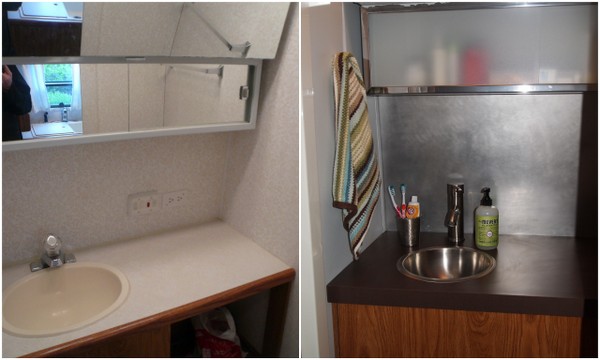
Original VS. Updated
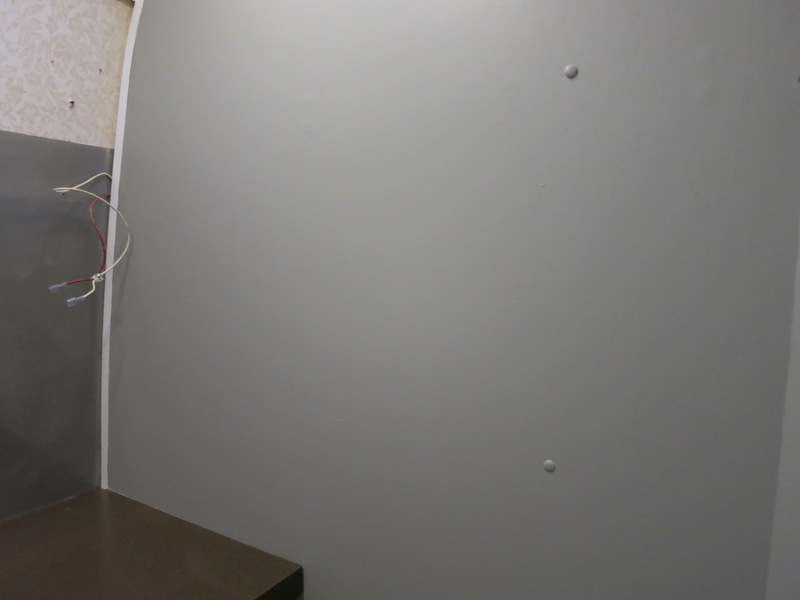
We still love our renovated bathroom…except for the backsplash. To make it look more like modern Airstreams we installed a sheet of aluminum behind the sink. It looked great at first and then the raw aluminum began to tarnish and stain with water spots that no amount of cleaning would remove. Eventually we decided to simply cover it up with a new backsplash. A few months ago we did the same thing in the kitchen.
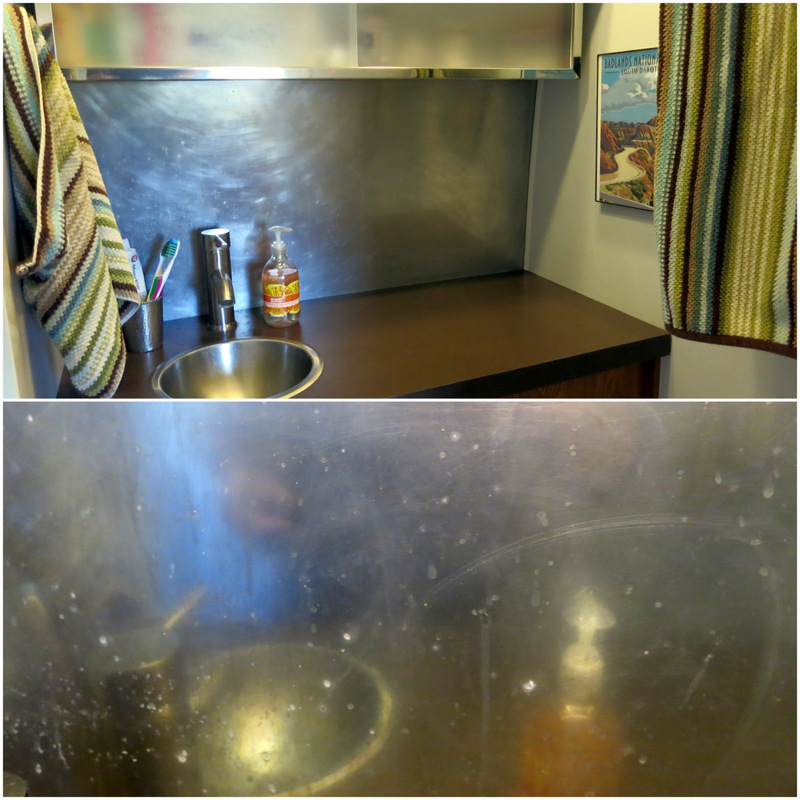
The bathroom before the refresh – Close up of the yucky backsplash
Since I’ve never been one to do things halfway, I figured while we were at it we might as well add a fresh coat of paint and some new accessories. Here’s how it all went down…
Part 1: New Paint
Materials
– Behr Premium zero VOC paint in Eggshell finish
– Small roller
– Paintbrush
– Paint tray
We removed the upper cabinets and towel racks. Check out the gold patterned wall paper behind the removed cabinet. Now imagine the entire bathroom covered with this wallpaper!
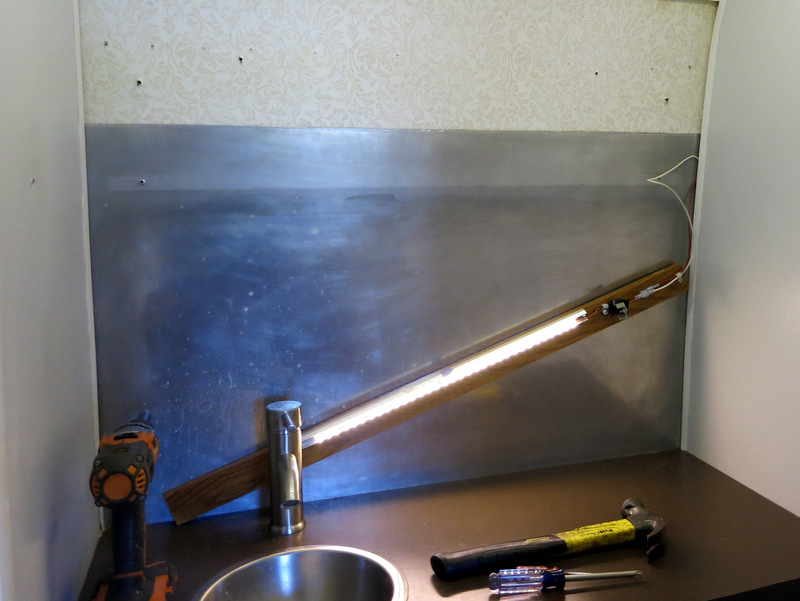
Ready for paint
The bathroom is small, but there are lots of edges and surfaces to cut around. Since I had already painted it once I knew I could do it with taping off anything. But I did spend extra time making sure I didn’t get paint anywhere it shouldn’t be. I spent about an hour painting the first coat and then went back to touch up some spots that needed extra coverage.
Loving that gray!
Part 2: New Backsplash
Materials
– 8 Smart Tile Peel & Stick Backsplash Tiles
– Straight edge & Utility Knife
We choose to use peel and stick tiles for a variety of reasons. They are lightweight, mess-free and easy to install.
While searching around online I came across the Smart Tile brand peel and stick tiles and knew that I liked the look. They are kind of like a glass tile, except made of a thin, plastic material that requires no mortar and no grout to install.
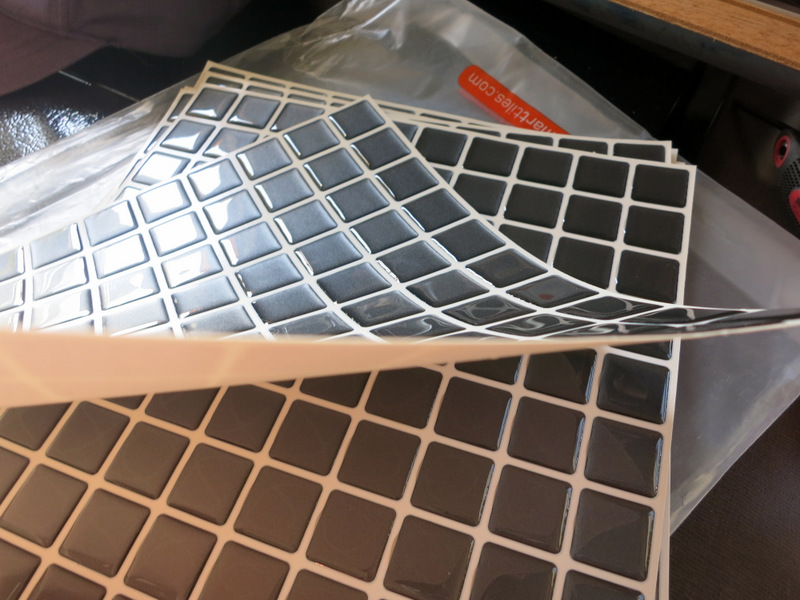
Smart Tiles
I decided to order them direct from the Smart Tile website because they have a wider selection then what you can find at Home Depot. This meant I had to pay a $10 shipping charge, but since the style I picked out was discounted I ended up saving money in the end.
Installing the tiles was extremely easy. Since we had good luck in the kitchen simply installing the new tiles over the old backsplash, we didn’t bother removing it. That also ensured that we were starting with a flat surface. We lined up the first tile with the wall and counter and pressed on the front while slowly peeling off the back paper.
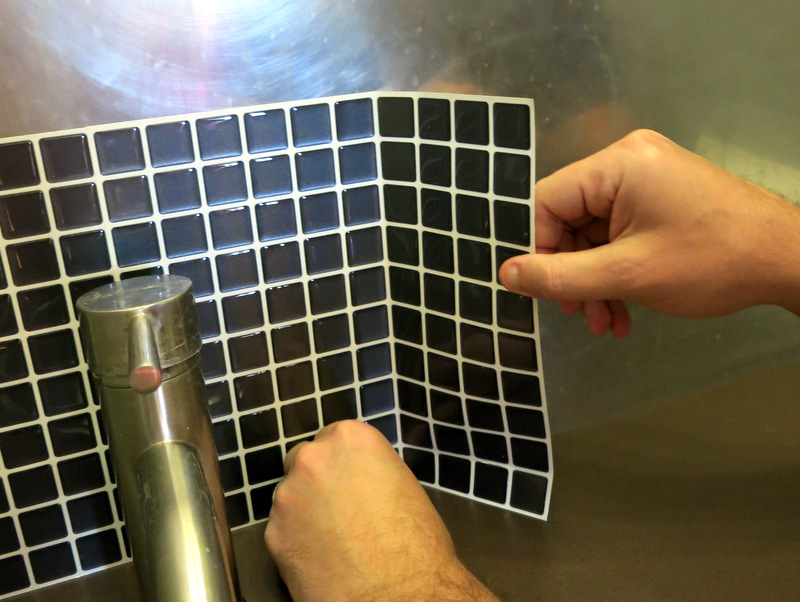
New tiles going up
We followed the manufacturer’s instructions and overlapped the white “grout line” border between tiles. Before we knew it the first row was done.
First row done
The last tile on the end needed to be cut to fit. We measured and marked the tile, and then ran a utility knife along a straight edge to cut it. We also could have cut the tiles with scissors.
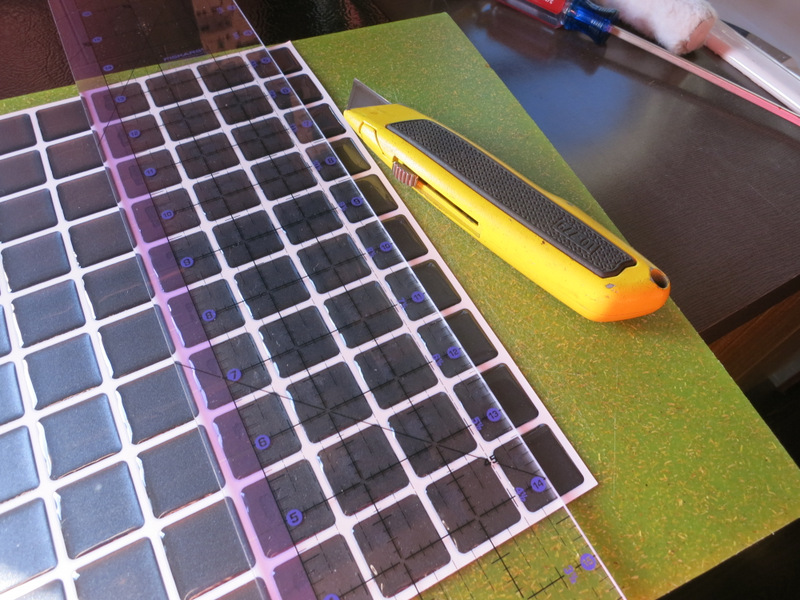
Cutting the tile
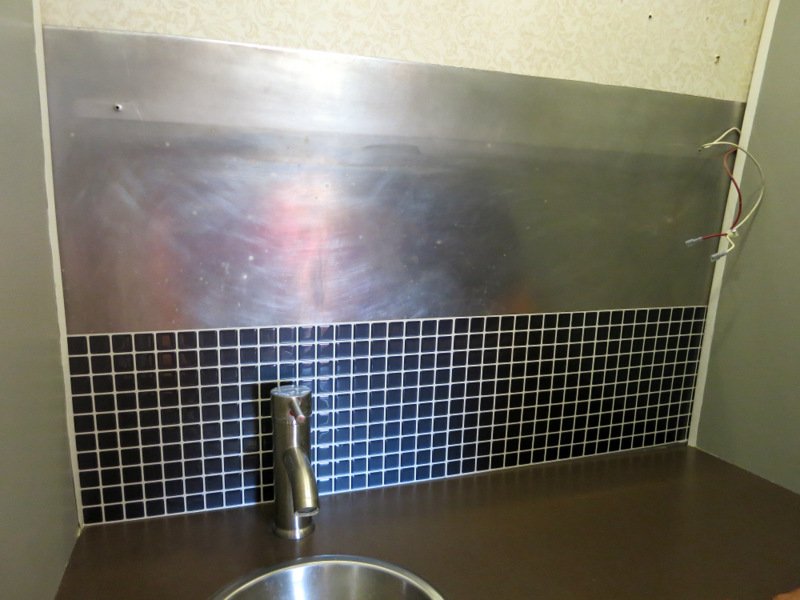
The second level went on top of the first, and soon we were looking at a much improved backsplash!
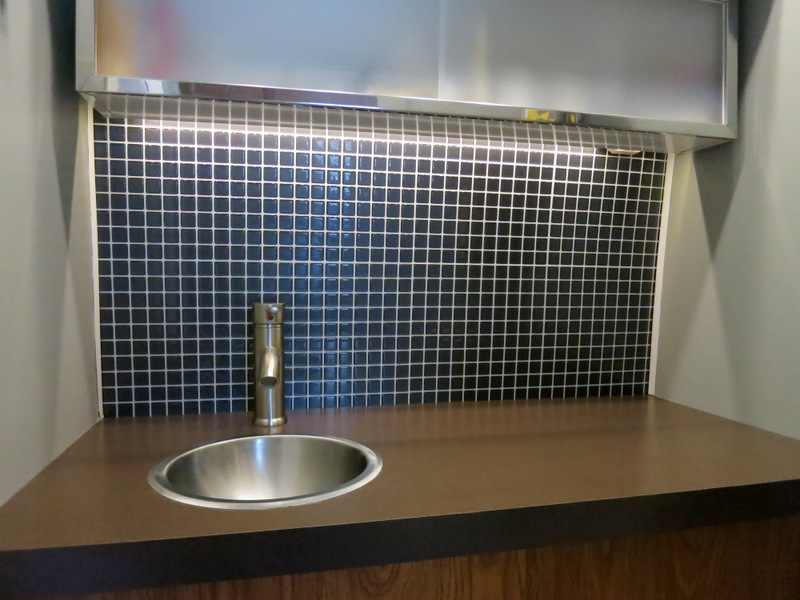
All done with the cabinet back in place
Part 3: Accessories
Materials:
– Towels (2 bath & 1 hand towel)
– Toothbrush holder
The final step was the addition of new accessories. I purchased some new towels that I found on sale at Target with a toothbrush holder to match. The yellow in the towels really adds a nice splash of color. A giant sea shell in the corner of the counter for decoration completed the look.
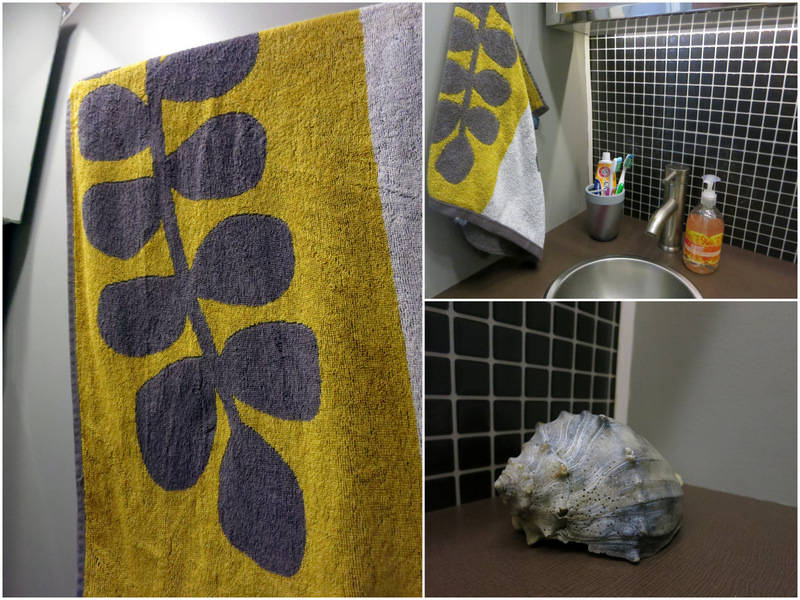
Accessories
Final Thoughts
One week later and were loving the new look. The tiles are holding up nicely, and they are much easier to wipe clean then the old aluminum backsplash. The grand total for the entire remodel was only $93.00, which we consider a minimal investment for a fresh new look. Hopefully this will be the last chapter in the ongoing story of our tiny bathroom.
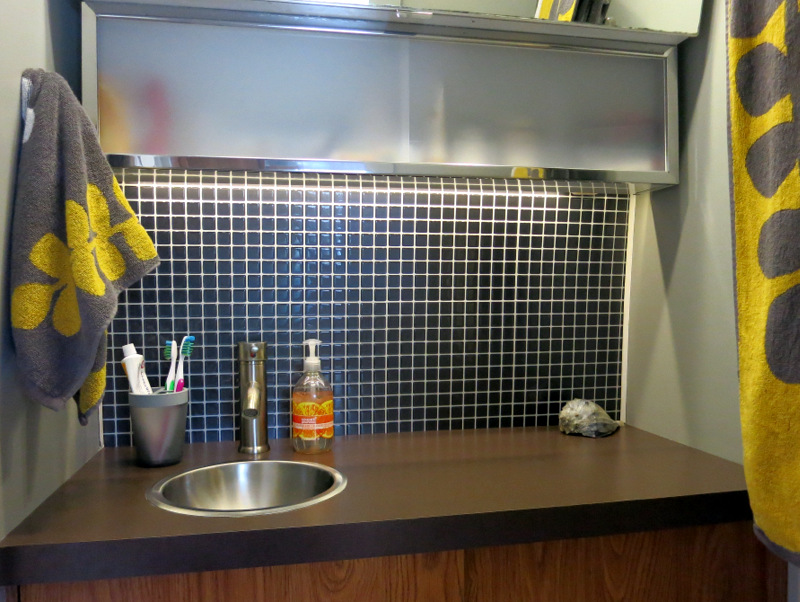
Love the new look!
22 comments
It looks beautiful! Great job.
Thanks Page!
Love this – thanks for the tips and including your product list! I will be looking for Smart Tiles for our airstream, too!
They seems to be a really great product. I know a lot of people have installed them in their RVs with good results.
Great look. I love my Smart Tile…. worth every penny!
Good to hear that you still like yours!
Looks great! I have been looking at that tile. It looks even better installed!
Thanks Meg! It turned out even better than we expected.
This looks lovely! I just took home a few samples of those tiles to see which ones work best in my new A/S! Wanna see?? :-)
Question: The area I’m most afraid of is taking things down that are screwed into the walls. You seem to do this freely and without worry. Any tips, please?
Here are Tim’s tips for taking down things that are screwed into the walls: Have a helper hold the item that you are removing, and apply pressure to that item as you slowly remove the screw so as to not strip it. Hope this helps.
Looks awesome!
Thanks! Can’t wait to show it to you in person :)
The new look is fabulous! Love it!
Nina
Thanks Nina!
Very nice!
Beautiful!! You did a great job. We’ve been planning to do our kitchen (and maybe vanity area) with Smart Tiles. Even though our trailer is new, I think a remodeling project is in our future very soon. I’m glad you posted this. :-)
I totally agree that even new RVs deserve some renovation :) Smart Tiles are a great choice because they require zero tools to install!
Looks nice and I have that brand of “tiles” now in my entire kitchen as a back splash. I absolutely LOVE them.
Looks great! Awesome job. Just found your blog today, and been reading it a lot. Curious about the electrical outlets that were on the original wall……where did those go? I think one is a battery/water pump, electrical outlet and light switch. We had a 2004 Safari, nice. 25′, and now have a 2005 28’Safari with a more modern decor, Would love to do the bathroom back splash, but don’t want to mess with the electrical bits that are there.
Tim moved the outlet and switches during the first round of bathroom renovations. They now reside in the cabinet below. If you use the Smart Tiles as a backsplash they would be very easy to cut and fit around the outlets/switches. A simple utility knife is all you need.
Hello, I am curious what you replaced the bottom mirror with. Would love if I could have the link as ours recently fell off and broke and we are looking for a replacement.
Hi Aubrey,
We replaced the bottom mirror with frosted plexiglass. We cut it into two pieces and put them in the grove where the mirror was. A small hole in each one allows a finger to slide the pieces. It’s a pretty easy DIY project and it held up really well!